Homemade Caramels
If you’re looking for a treat that balances rich, buttery goodness with a hint of nostalgia, look no further than homemade caramels. There’s something truly magical about watching sugar transform into soft, chewy candies that evoke memories of childhood and simple pleasures. Did you know that caramel-making dates back to the 18th century? It’s true! People have been enjoying this delightful confection for centuries, and once you try making them at home, you’ll understand why.
What makes these caramels truly special is their simplicity. With just a few basic ingredients and a little patience, you’ll have a batch of delicious treats that can bring a smile to anyone’s face. They’re not just for special occasions; these homemade caramels are a fantastic way to show love to family and friends, making them the perfect snack for gatherings or cozy nights in. Having made these alongside other classic treats like chocolate chip cookies, I can assure you that the joy these caramels bring is unparalleled! So, let’s dive into the sweet and sticky world of homemade caramels!
What Are Homemade Caramels?
Homemade caramels? What a delightful notion, right? You might be wondering, “How can something so seemingly complex be made at home?” The truth is, the name “caramel” comes from the Latin word “canna,” which means sugar cane, and these little bites of heaven are just sugar at its finest! It’s said that “the way to a man’s heart is through his stomach,” and what better way to capture hearts than with a sweet piece of caramel? Imagine biting into a soft, buttery candy that stretches as you savor it – heavenly! Now, are you ready to treat your taste buds? Let’s get cooking!
Why You’ll Love Homemade Caramels
Homemade caramels are a total game-changer! Firstly, the main highlight of this recipe is the sheer pleasure of biting into a soft, melt-in-your-mouth candy that’s customizable to your taste preferences. Want to sprinkle some sea salt on top? Go for it! Craving a hint of vanilla or chocolate? The universe is your oyster!
Secondly, making caramels at home is a fantastic cost-saving option. When you consider the price of store-bought candies of similar quality, you’re in for quite a bargain by crafting your own batch! The richness you achieve with just a few pantry staples is a satisfaction you won’t find in generic store brands.
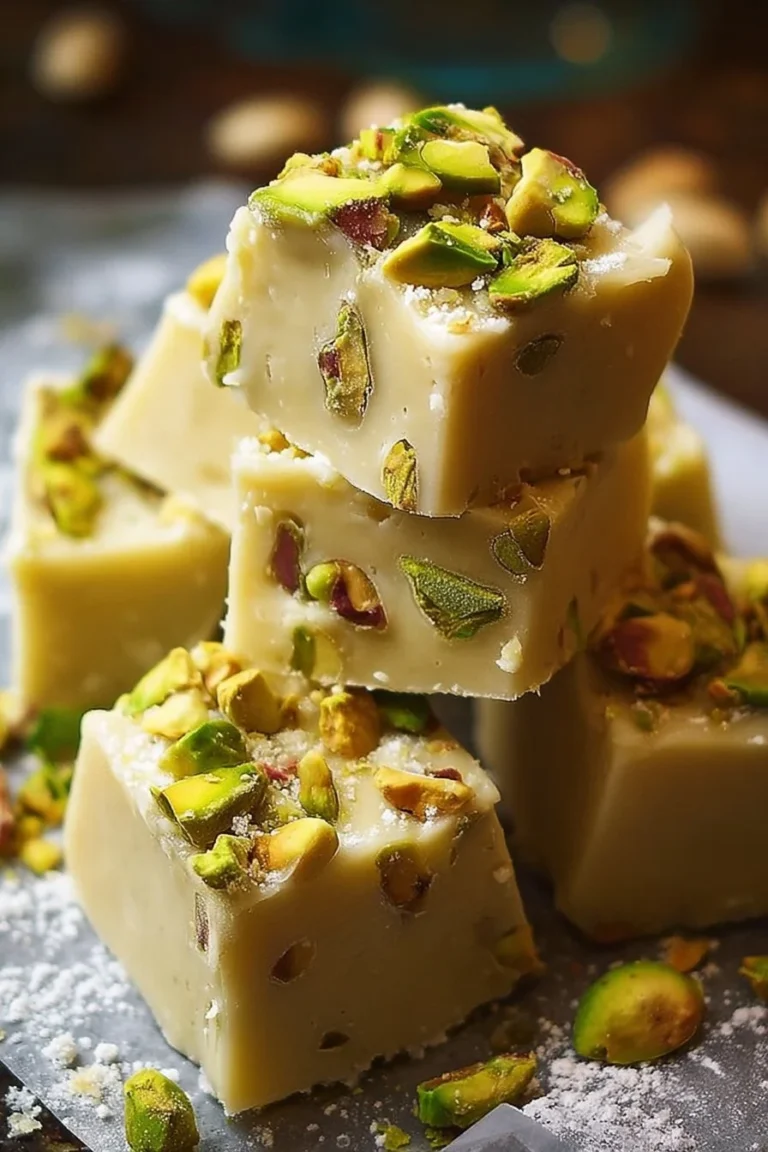
Finally, homemade caramels provide endless opportunities for creativity. You can experiment with various flavors, mix in nuts, or drizzle chocolate over the top. If you love desserts that satisfy your sweet tooth like chocolate fudge or marshmallows, homemade caramels will absolutely be your next favorite endeavor. Trust me; you’ll want to get in the kitchen and whip up a batch!
How to Make Homemade Caramels
Quick Overview
Making homemade caramels is easier than you might think! With a total preparation time of about 30 minutes and a cooking time of approximately 40-60 minutes, you’ll be rewarded with a batch of velvety caramels that will impress family and friends alike. The simplicity of this recipe makes it perfect for both seasoned candy makers and newbies, while the rich, buttery flavor will tantalize your taste buds.
Key Ingredients for Homemade Caramels:
- 1 cup unsalted butter (2 sticks)
- 2 cups granulated sugar
- 1 cup light corn syrup
- 1 can (14 oz) sweetened condensed milk
- 1 tsp vanilla extract
- 1 tsp sea salt (optional, for topping)

Step-by-Step Instructions:
- Prepare Your Baking Pan: Line an 8×8 inch square baking dish with parchment paper, allowing some overhang on the sides for easy removal later. Grease the parchment paper lightly with butter.
- Melt the Butter: In a large, heavy-bottomed saucepan, melt the butter over medium heat.
- Add the Sugar and Syrup: Gradually stir in the granulated sugar and light corn syrup until combined. Be sure to keep the mixture moving to prevent burning!
- Simmer: Allow the mixture to come to a gentle boil, then reduce the heat. Stir frequently to maintain an even texture.
- Add Sweetened Condensed Milk: After about 10 minutes of simmering, slowly stir in the sweetened condensed milk, and continue to stir vigorously.
- Heat to Hard Ball Stage: Cook the caramel until it reaches about 245°F (120°C) on a candy thermometer or until it reaches the hard ball stage. This may take an additional 20-30 minutes, so don’t rush it!
- Add Vanilla: Remove from heat once you reach the proper temperature and quickly stir in the vanilla extract.
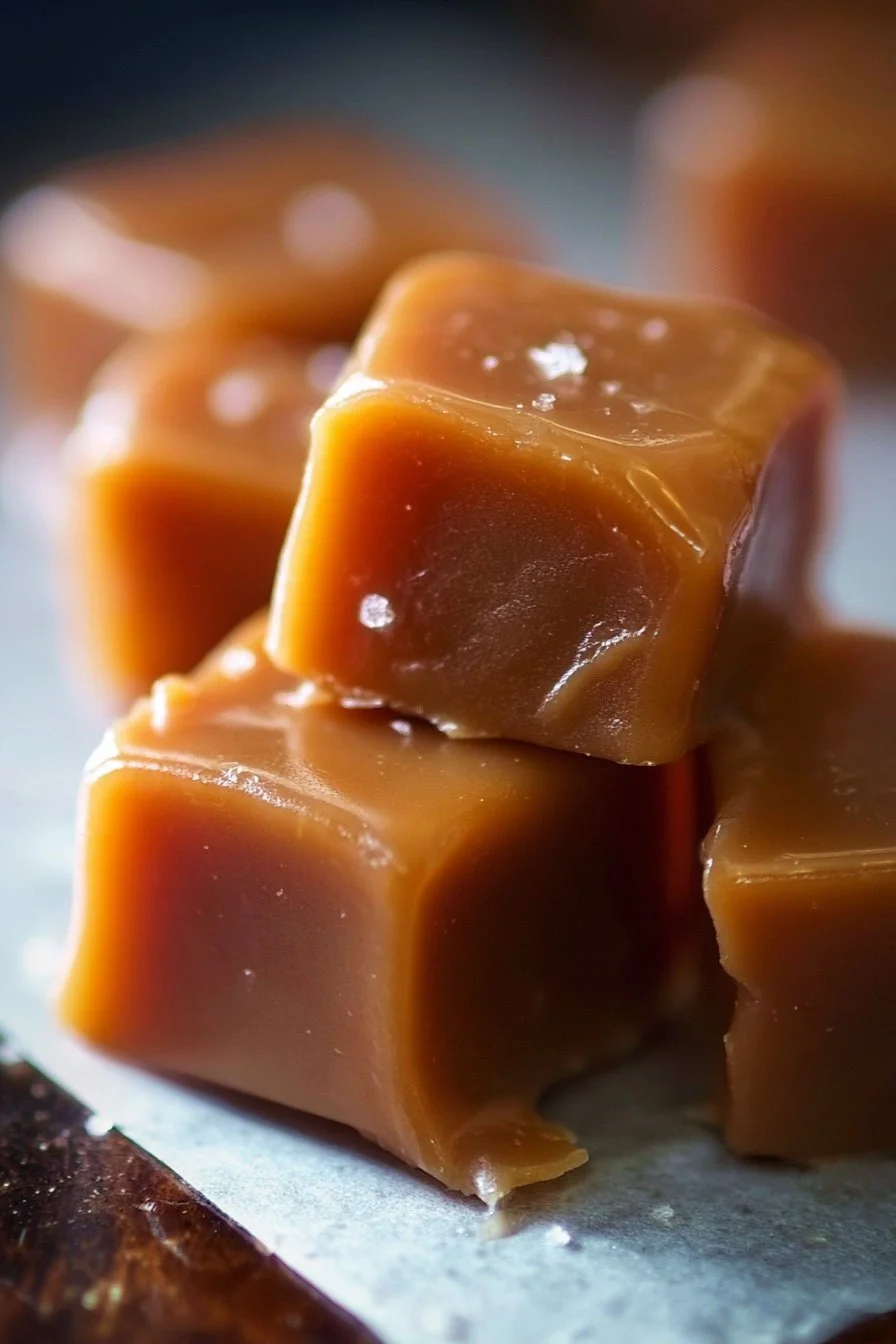
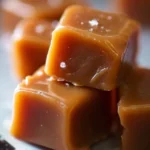
- Transfer to Baking Dish: Pour the caramel mixture into the prepared baking dish and spread it evenly. Sprinkle with sea salt if desired.
- Cool: Allow the caramels to cool for a few hours until firm.
- Cut and Enjoy: Use the parchment paper overhang to lift the caramel out of the dish. Cut into small squares and enjoy your homemade treats!
What to Serve Homemade Caramels With
Homemade caramels make an excellent standalone treat, but they can also accompany a variety of delicious pairings. How about enjoying them with coffee or a hot cup of tea? The rich flavor of the caramels complements the warmth of the beverages beautifully. They also pair well with vanilla ice cream or can be used to drizzle over fresh apples for a delightful dessert. You could even incorporate them into baked goods like brownies or cheesecakes for an added touch of sweetness!
Top Tips for Perfecting Homemade Caramels
To ensure your homemade caramels are perfect every time, here are a few helpful tips:
- Use a Candy Thermometer: This is crucial for achieving the right consistency. If you don’t have one, use the “cold water test” to check the mixture’s readiness.
- Stir Constantly: This prevents the sugar from crystallizing and ensures a smooth caramel.
- Flavor Variations: Don’t be afraid to get creative! Experiment with different extracts or add a pinch of spices for a unique twist.
- Stay Focused: Candy-making requires attention, so avoid distractions to ensure the best results.
Storing and Reheating Tips
Homemade caramels can last beautifully when stored properly! Wrap each piece individually in wax paper to prevent them from sticking together. When kept at room temperature, they can last up to two weeks. For longer storage, consider refrigerating them; they should stay fresh for about a month. If you want to freeze them, just ensure they are wrapped well in plastic wrap and placed in an airtight container. To enjoy, simply let them thaw at room temperature before savouring their deliciousness!
Now you’re all set to embark on your own homemade caramel adventure! Sweeten up your day, impress your friends, and indulge your sweet tooth with these delectable treasures. Enjoy!
Homemade Caramels
Ingredients
Method
- Line an 8x8 inch square baking dish with parchment paper, allowing some overhang for easy removal. Grease the parchment paper lightly with butter.
- In a large, heavy-bottomed saucepan, melt the butter over medium heat.
- Gradually stir in the granulated sugar and light corn syrup until combined. Keep the mixture moving to prevent burning.
- Allow the mixture to come to a gentle boil, then reduce the heat. Stir frequently to maintain an even texture.
- After about 10 minutes, slowly stir in the sweetened condensed milk and continue to stir vigorously.
- Cook the caramel until it reaches about 245°F (120°C) on a candy thermometer or until it reaches the hard ball stage, which may take an additional 20-30 minutes.
- Remove from heat and quickly stir in the vanilla extract.
- Pour the caramel mixture into the prepared baking dish and spread it evenly. Sprinkle with sea salt if desired.
- Allow the caramels to cool for a few hours until firm.
- Use the parchment paper overhang to lift the caramel out of the dish. Cut into small squares and enjoy your homemade treats.