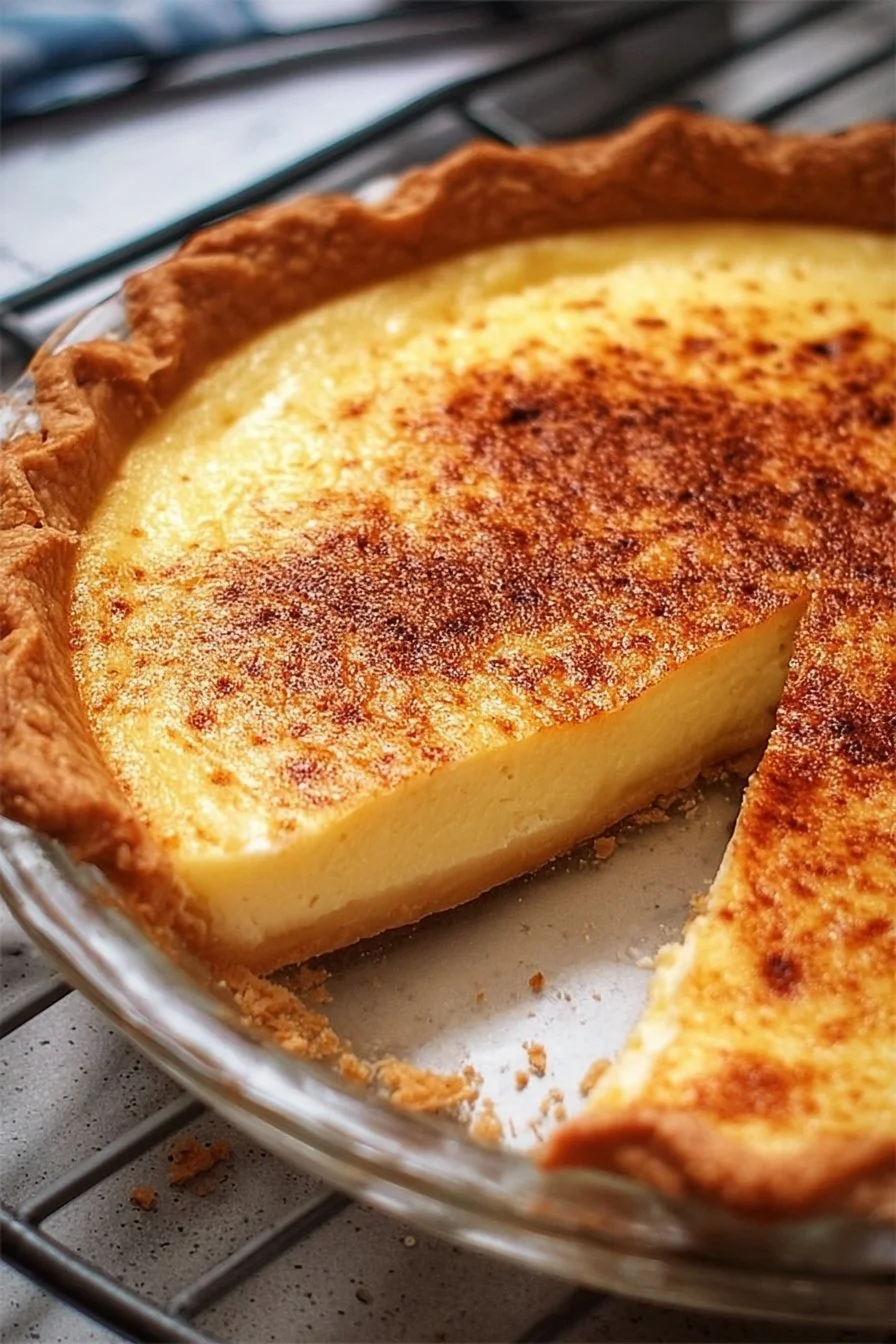
Classic Vanilla Custard Pie
Imagine a luscious, creamy pie that melts in your mouth with every bite. That’s exactly what you get with a Classic Vanilla Custard Pie! This scrumptious dessert is not just any pie; it’s a nostalgic favorite that brings joy to dinner tables across generations. With its silky texture and rich flavor, custard pie is perfect for any occasion—from holiday feasts to simple family dinners.
One fun fact about this delightful dish is that it has its roots dating back centuries. Did you know that custard filling can be traced to the Middle Ages? It’s a classic dessert that has stood the test of time and continues to bring smiles! The beauty of the Classic Vanilla Custard Pie lies in its simplicity. With just a handful of ingredients, you can whip up this dessert in no time, making it the ideal treat for busy families. If you love desserts like Creamy Chocolate Pudding or Sweet Potato Pie, you’ll find this custard pie equally appealing. Get ready to embrace the warmth and sweetness of this recipe in your home!
What is Classic Vanilla Custard Pie?
Have you ever wondered what delights lie in that flaky pie crust filled with a smooth, creamy filling? That, my friends, is the magic of the Classic Vanilla Custard Pie! This name might make it sound all fancy, but it’s simply a delightful way of describing a pie that encapsulates the essence of comfort food. It’s sweet, rich, and has that classic decadent taste that keeps you coming back for more.
Why “custard,” you ask? Well, it comes from the French word “custrade,” and who doesn’t want to feel a touch of French elegance while savoring this dessert? They say that “the way to a man’s heart is through his stomach,” and I guarantee this pie will do just that! With its comforting flavors and irresistible creaminess, you’ll surely want to try making one for your loved ones.
Why You’ll Love This Classic Vanilla Custard Pie:
There are several compelling reasons why this Classic Vanilla Custard Pie deserves a spot in your baking repertoire. First and foremost, the highlight of this dish is its creamy filling, made with fresh eggs, sugar, and, of course, vanilla to create a rich flavor profile that dances on your taste buds. Secondly, making this pie at home is a fantastic cost-saving choice compared to purchasing a store-bought version. Imagine gliding your own pie out of the oven and enticing everyone’s senses!
Lastly, the beauty of this pie is that it can be customized with delightful toppings such as fresh whipped cream, chocolate shavings, or seasonal fruit, making it even more special. If you love desserts with a touch of nostalgia like Grandma’s Banana Pudding, this pie will fit perfectly with your taste! Ready to impress your family? Let’s get baking!
How to Make Classic Vanilla Custard Pie:
Quick Overview
The Classic Vanilla Custard Pie is simple, delicious, and unbelievably satisfying! You’ll be whisking together creamy goodness in no time. With a prep time of just 15 minutes and a baking time of about 45 minutes, you’ll have this scrumptious dessert ready and cooling on your counter before you know it! Get ready for the awe-inspiring aroma to fill your kitchen!
Key Ingredients for Classic Vanilla Custard Pie:
- 1 pre-made pie crust (store-bought or homemade)
- 4 large eggs
- 1 cup granulated sugar
- 2 cups whole milk
- 2 teaspoons pure vanilla extract
- 1 pinch of salt
- Optional: nutmeg or cinnamon for sprinkling

Step-by-Step Instructions:
- Preheat the Oven: Begin by preheating your oven to 350°F (175°C).
- Prepare the Pie Crust: If using a pre-made crust, fit it into your pie dish and poke the bottom with a fork to prevent bubbling. If you’re making your own crust, roll it out, place it in the dish, and chill it for about 15 minutes.
- Make the Custard Filling: In a large mixing bowl, whisk together the eggs and sugar until well combined. Gradually whisk in the milk, vanilla extract, and a pinch of salt until smooth.
- Pour and Sprinkle: Gently pour the custard mixture into the prepared pie crust. If you like, sprinkle a little nutmeg or cinnamon on top for extra flavor.
- Bake: Place the pie in the preheated oven and bake for about 45 minutes or until the filling is set and a bit jiggles in the center.
- Cool and Serve: Remove from the oven and allow the pie to cool on a wire rack. Once cool, slice, serve, and enjoy with your favorite toppings!
What to Serve Classic Vanilla Custard Pie With:
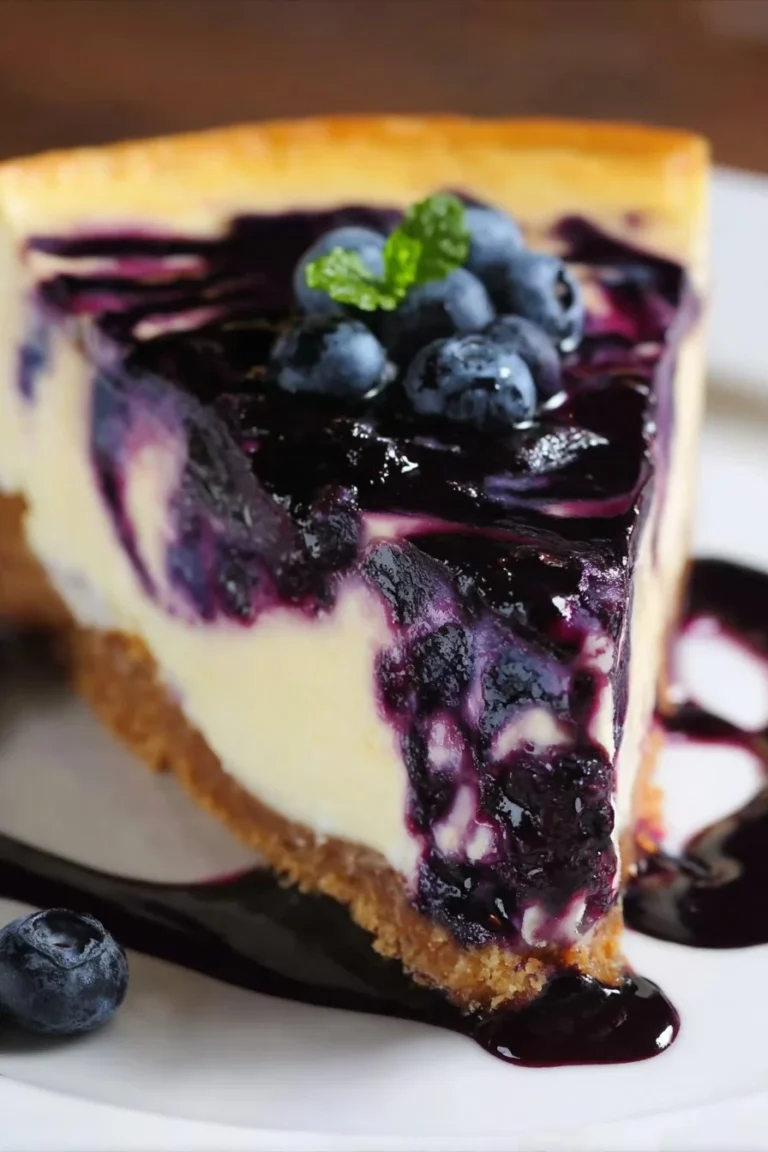
Pair this delightful Classic Vanilla Custard Pie with a side of freshly whipped cream or a scoop of vanilla ice cream to elevate the dessert experience! You could also complement the flavors with fresh berries like strawberries or blueberries. This combination not only adds a pop of color but also a tangy freshness that balances the rich custard nicely. For beverages, serve it alongside a hot cup of coffee or a light herbal tea to enhance the flavors even further.
Top Tips for Perfecting Classic Vanilla Custard Pie:
- Egg Temperature: Using room temperature eggs helps achieve a smoother custard. Let them sit out for about 30 minutes before starting!
- Don’t Overmix: When combining the ingredients, it’s important not to overmix, as this can create bubbles in your custard.
- Test for Doneness: You want the filling to be set but still jiggly in the middle. It will continue to firm up as it cools!
- Baking Blind: If you want a crisper crust, consider blind-baking the crust for about 10 minutes before adding the custard filling.
- Flavor Infusion: Experiment with flavor infusions by adding a hint of almond extract or using flavored milk.
Storing and Reheating Tips:
To store your Classic Vanilla Custard Pie, cover it with plastic wrap or aluminum foil and keep it in the refrigerator. It’s best enjoyed within 2-3 days for optimal freshness; however, it can last up to a week! If you have any leftovers, simply slice and reheat in the microwave for 10-15 seconds or enjoy it chilled right from the fridge.
In conclusion, the Classic Vanilla Custard Pie is not just a dessert; it’s a journey back to simpler times, filled with fleeting moments of family gatherings and celebrations. Now that you have all the tools and tips you need, why not surprise your family with this delightful dish? Happy baking!

Classic Vanilla Custard Pie
Ingredients
Method
- Preheat your oven to 350°F (175°C).
- If using a pre-made crust, fit it into your pie dish and poke the bottom with a fork. If making your own, roll it out, place it in the dish, and chill for about 15 minutes.
- In a large mixing bowl, whisk together the eggs and sugar until well combined.
- Gradually whisk in the milk, vanilla extract, and a pinch of salt until smooth.
- Gently pour the custard mixture into the prepared pie crust.
- Sprinkle a little nutmeg or cinnamon on top if desired.
- Place the pie in the preheated oven and bake for about 45 minutes or until the filling is set but still jiggly in the center.
- Remove from the oven and allow the pie to cool on a wire rack.
- Once cool, slice, serve, and enjoy with your favorite toppings!